QR Code Holder for Restaurants: Size, Types and Placement Guide
Choose the right QR code holder for a restaurant table, compare common materials, plan the printed size and test menu scanning in real dining-room conditions.
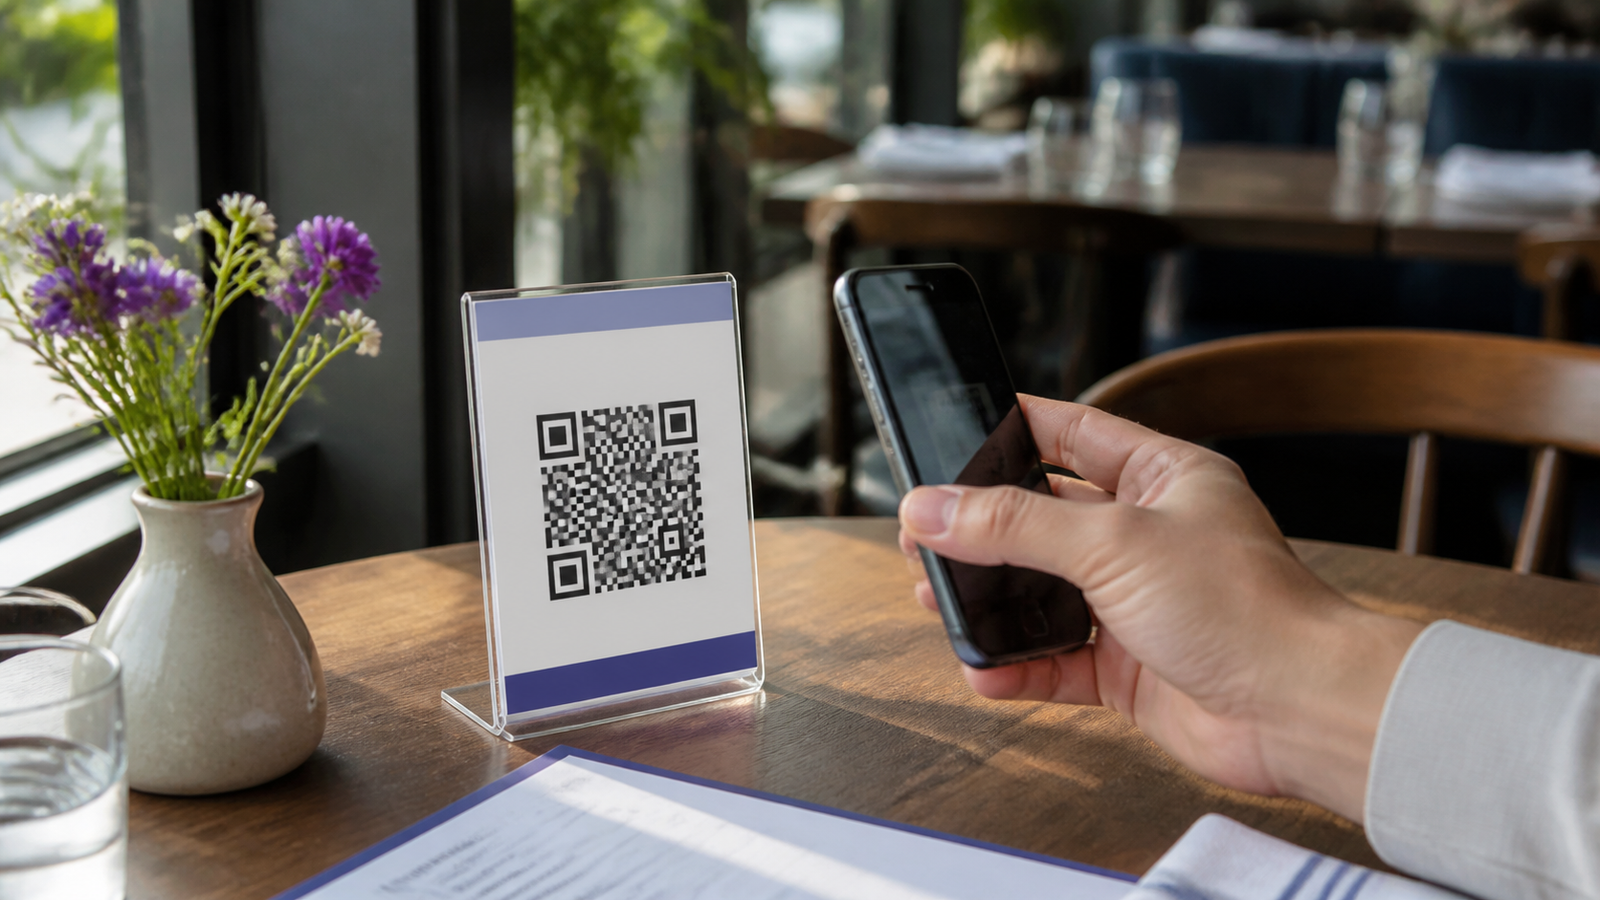
A QR code holder for a restaurant should help a seated guest open the correct menu quickly. The best holder keeps the complete code flat, visible and protected without glare. Material and appearance matter, but printed size, table position, menu speed and a non-QR alternative matter just as much.
What is a restaurant QR code holder?
A restaurant QR code holder is a tabletop, counter, wall or window display that presents a scannable link to a digital menu or another clearly labelled action. It can protect a printed code from spills and make it easier to notice, but the holder cannot compensate for a restricted menu link, weak contrast or an unreadable mobile page.
Prepare the menu before choosing the holder
Open the exact menu destination in a private browser window before printing. A guest should not need an owner account, editing permission or an unexpected download to see prices and choices. A responsive web menu is usually easier to use on a phone than a large desktop PDF. If a PDF is necessary, compress it and check that text remains readable without repeated zooming.
Create the destination with the LatestQR Menu QR Generator. If the menu already has a stable public webpage, the URL QR Generator can connect directly to it. Keep the address under restaurant control so menu updates do not require replacing every holder.
Compare common restaurant QR holder types
| Holder type | Useful qualities | Check before ordering |
|---|---|---|
| Acrylic tabletop stand | Easy to wipe and simple to update | Glossy surfaces can reflect ceiling lights; test the installed angle. |
| Powder-coated metal | Stable and durable in busy dining rooms | Confirm that the finish and frame do not reduce the clear border around the code. |
| Wooden block | Can suit cafés and natural interiors | The insert must remain flat, dry and easy to replace. |
| Paper tent or laminated card | Affordable for pilots and frequent menu changes | Watch for bent corners, worn print and glare from glossy lamination. |
| Adhesive table label | Compact and difficult to move | Use a smooth surface and replace damaged or peeling labels promptly. |
What should a restaurant QR code holder display?
Keep the printed insert focused on one action. Show the restaurant name, a short instruction such as Scan to view today’s menu, the QR code with an uninterrupted clear margin and a readable fallback address. Do not crowd the code with several offers, social icons and competing instructions.
For a double-sided table tent, the same menu code can appear on both sides so guests do not need to rotate or lift the holder. Print from a high-resolution PDF or image exported by the Menu QR Generator, and avoid using a screenshot as the print master.
Choose a practical QR code size
For close tabletop scanning, a QR area around 3 to 4 cm can be a sensible starting point, not a universal guarantee. Increase the size when the code contains more data, uses decorative modules or must be scanned from farther away. Print one sample at final size before committing to a full order.
Preserve the quiet zone: the clear margin around all four sides of the QR pattern. A clip, border, logo or nearby text should not enter this area. Avoid stretching the exported image, and use strong dark-on-light contrast. The QR code pre-print testing guide provides a broader artwork checklist.
Practical starting sizes
| Placement | QR area to test first | Important check |
|---|---|---|
| Small tabletop holder | 3–4 cm | Scan while seated without lifting the stand. |
| Counter display | 4–6 cm | Test from the normal queue position. |
| Wall or entrance sign | Increase for viewing distance | Test the final sign from the expected approach distance. |
These measurements are starting points rather than guarantees. QR density, logo size, contrast, camera quality, print material and viewing distance all affect the final requirement.
Place the holder where guests can scan naturally
A seated guest should be able to point a phone at the holder without reaching over another person, lifting the display or moving plates. Keep it away from candle flames, condensation, food splashes and the strongest reflections. On counters, position it where a queue does not block the code.
Add a specific instruction such as Scan to view today’s menu. This is clearer than an unexplained code or a generic “Scan me” label. Include the restaurant name or domain so guests can recognise the intended destination.
Run one realistic table test before ordering in bulk
Test the complete setup: final exported image, chosen print material, actual holder and real table position. A successful scan from a computer screen does not prove that the installed holder will work under restaurant lighting.
| Test condition | What to verify | Record |
|---|---|---|
| Normal seating position | The code is visible and detected without lifting the holder. | Phone, distance and result |
| Day and evening service | Reflections do not hide the pattern or quiet zone. | Time, light source and adjustment |
| Opposite side of the table | The viewing angle remains comfortable. | Successful and failed angles |
| After normal cleaning | Moisture, scratches or cloudy film do not interrupt scanning. | Cleaner used and surface condition |
| Mobile data with WiFi off | The current menu opens quickly and key information is readable. | Load experience and first usable screen |
Try at least one Android phone and one iPhone when available. Record actual observations instead of assuming that one successful scan represents every device and table.
Fix common restaurant scanning problems
The camera keeps hunting for focus
Move the code away from reflective plastic, increase its printed size and simplify decorative modules. A matte insert or non-glare cover may help in bright rooms.
The bare print scans but the holder does not
Check curvature, reflections, viewing angle and whether the holder overlaps the quiet zone. Test after every physical adjustment rather than regenerating the QR data immediately.
The menu opens slowly
Compress images and documents, remove unnecessary interruptions and put prices, categories and allergen information near the top. Test on ordinary mobile data, not only restaurant WiFi.
The code opens an old menu
Use one stable public URL controlled by the restaurant and update the page behind it. Confirm the printed code again whenever hosting, file permissions or the menu system changes.
Include cleaning, security and maintenance checks
Add QR holders to the table-reset routine. Use a cleaner suitable for the holder material, let the surface dry and replace scratched or faded inserts. Staff should know the expected restaurant domain and inspect unattended displays for stickers placed over the genuine code.
Keep a simple register containing the destination URL, holder location, installation date, last scan test and person responsible for updates. Recheck after a redesign, menu migration or print replacement.
Keep the menu accessible without scanning
A QR menu should be a convenient option, not the only route to prices, ingredients or allergen information. Keep clean printed menus or staff-assisted access available. A readable short address beside the code can also help guests whose camera or connection is unavailable. See the QR code accessibility guide for inclusive labels and digital destination checks.
Restaurant QR holder checklist
- Confirm the menu works while signed out.
- Create the code from the final stable URL.
- Preserve strong contrast and the complete quiet zone.
- Print one insert at its exact production size.
- Install it in the intended holder and table position.
- Test different phones, lighting, angles and mobile data.
- Check the holder again after cleaning.
- Provide a printed, spoken or readable-link alternative.
- Assign someone to maintain the menu and inspect displays.
Frequently asked questions
Should every restaurant table have its own QR code?
The same menu code can appear on every table when it opens a shared menu. Table-specific codes are useful only when an ordering system needs a table identifier; each one then requires careful setup and replacement tracking.
Is acrylic or metal better?
Either can work. Acrylic is easy to update, while metal is often more stable. Compare glare, cleaning, weight, replacement cost and actual restaurant lighting before deciding.
Can a QR holder replace printed menus?
It should not remove access for guests without a suitable phone, connection or comfort with scanning. A small supply of current printed menus remains a useful fallback.
Final takeaway
The best restaurant QR code holder is not simply the most decorative one. It keeps a verified menu code flat, visible and easy to scan from a normal seat. Test one complete holder in real conditions, maintain the destination and always give guests another comfortable way to view the menu.